

How many times have you wished you could record your vocals without having to use a computer, or how often do you wish that the guitar amp didn’t sound so thin?
Or, how do you connect your audio mixer to an audio interface? This is how!
Connecting the two pieces of equipment is not hard at all. There are just a few steps that need to be followed for this process. This article will show how to connect them together for better sound quality.
What Do I Need to Connect My Mixer?
The mixer that you are using should have a stereo output. This output type has two jacks, usually RCA or TRS (tip-ring-sleeve) connectors.
The audio interface will also need to have a stereo input. Most audio interfaces come with built-in preamps, which help boost the signal to be adequately recorded.
There are four steps in this process:
- Locating an available line-level output in the audio mixer
- Setting up the audio interface to receive the signal from the mixer
- Connecting the two TRS phone connectors from your mixer to the audio interface
- Setting gains and levels correctly to get a clean signal for recording

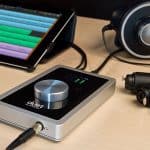
What Is an Audio Interface, And Why Do I Need One for My Mixer?
An audio interface is a piece of hardware that allows you to connect your mixer to your computer. It converts the signals from your mixer into digital signals that your computer can understand.
This is necessary because computers do not understand the analog signals that come out of most mixers. If you want to use any of your computer’s built-in effects or recording features, you will need an audio interface.
There are many different types of audio interfaces available, so be sure to choose one that is compatible with both your mixer and computer. Some audio interfaces come with built-in effects, and others do not. Make sure the one you choose can do what you need it to.
If your computer already has built-in audio interfaces, they may be incompatible with your mixer, unless they are a newer version than those built into your machine. This can typically be found out by searching for an “audio interface” on Google, along with the model number of your computer or laptop.
Suppose there isn’t a new compatible built-in audio interface available. In that case, an external audio interface will most likely work better anyway, as long as both devices have USB ports that support USB Audio Class (UAC).
This Is What You Would Need:
- An audio mixer with a stereo output
- An audio interface that has stereo inputs
- Two TRS phone connectors to connect the mixer to the audio interface
- Some way to adjust the gain and levels on both the mixer and audio interface
Connecting your audio mixer to an audio interface is a pretty simple process. Still, there are a few things you need to take into account for everything to work correctly. Let’s walk through how to do it step by step.
Locate an Available Line-Level Output in the Audio Mixer:
The first thing you’ll need to do is locate a line-level output in the audio mixer. This will be one of the stereo outputs on your device, and it can be just about anything as long as two channels go out from each other.
The reason for this is that we’re going to connect both left and right channel signals into our interface at once, which means they have to come off of separate outputs so they don’t interfere with each other.
Set Up the Interface to Receive the Signal from the Mixer
Once you’ve found where those two lines come together (it’s usually labeled), set up your interface so that it receives these inputs using its stereo input jacks or built-in preamps if possible.
Depending on how many channels you’re using, you may need different cables, but you can usually use the same kind of cable for both left and right channels.
Connect the TRS Phone Connectors from the Mixer to the Interface:
Now that you have located an available line-level output in the audio mixer, it is time to connect it to the audio interface. This is done by using two TRS phone connectors.
The first thing you will need to do is identify which connector corresponds to the left channel and which one corresponds to the right channel. This information will be labeled on most mixers on the back of the unit.
Once you have identified these channels, plug them into their corresponding jacks on the audio interface.
Set Gains and Levels Correctly to Get a Clean Audio Signal:
After your mixer is connected to your interface, it’s time to set gains on each device so that they match up properly. The first thing you’ll need to do here is to make sure the gain knob isn’t turned all the way down on either side – this makes it much harder (or even impossible) to get the right audio signal into your computer without clipping or distorting everything.
Then adjust levels until no peaks are hitting 100% in any part of the recording software. You may need to consult your audio interface’s owner’s manual for more information on how to do this. Generally speaking, though, you want both the input and output levels to be at around -12dB.
At this point, you should have everything set up correctly from an operational standpoint. Now just press record and start playing your music.
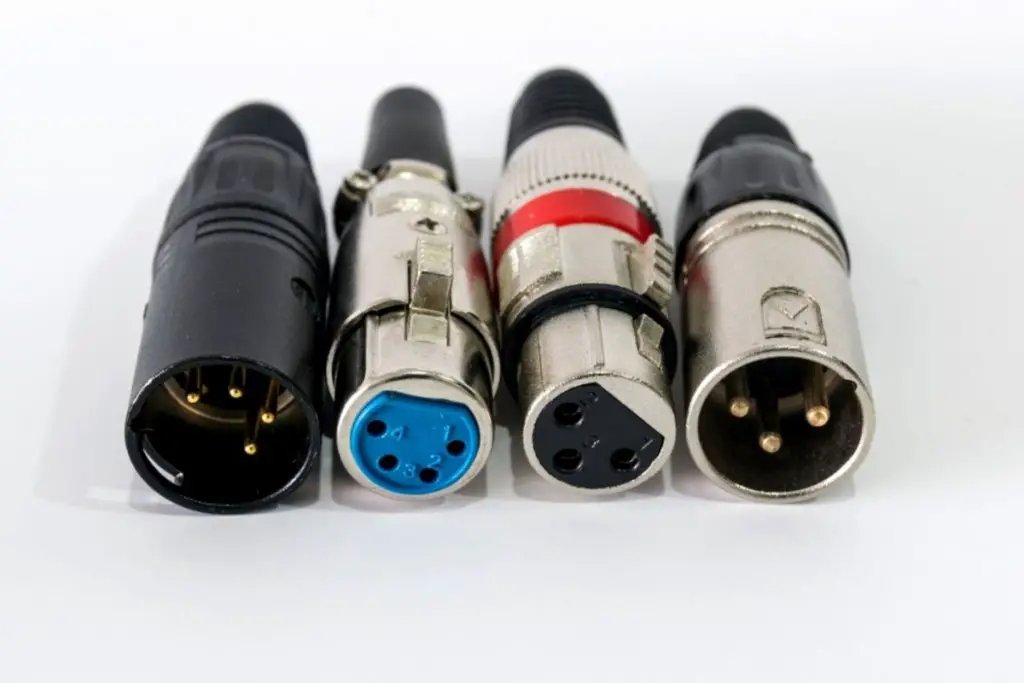
What About XLR?
If your analog mixer has XLR outputs, you’ll need to use a TRS-to-XLR cable to connect the two devices. The process is the same as described above; just be sure to select the corresponding input on your audio equipment or interface.
While most mixers have stereo outputs, some may only have a single mono output. In this case, you’ll need to use a mono-to-stereo cable to connect the two devices.
If your hardware mixer doesn’t have any built-in effects or processing, you can still use an audio interface to add these features. Many quality audio interface devices include built-in DSP processors that can be used for tasks like EQing and compression. This way, you can keep your mix clean and free of noise and distortion.
When connecting an audio mixer to an audio interface, be sure to set the levels correctly. You want a strong signal without any clipping or distortion. The best way to do this is by appropriately setting the gains on both devices.
Once everything is connected, play some music through the mixer and make sure the levels are peaking around 0 dB on your audio interface’s meters. If they’re too high or too low, you can adjust them until they’re in the proper range.
Conclusion: How to Connect Mixer to Audio Interface
It might seem difficult at first, but learning how to connect a mixer to an audio interface is pretty simple if you know the right steps to take. Just follow the directions above, and you’ll be ready to record in no time flat!
Check out more articles and guides like this one on SustainPunch.com!